> Workflow
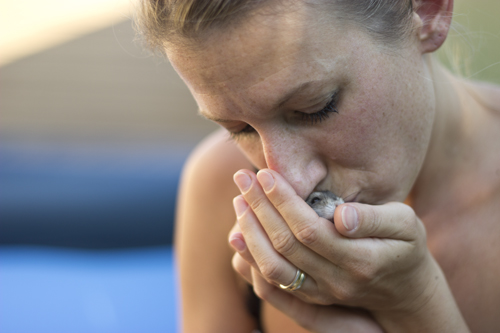
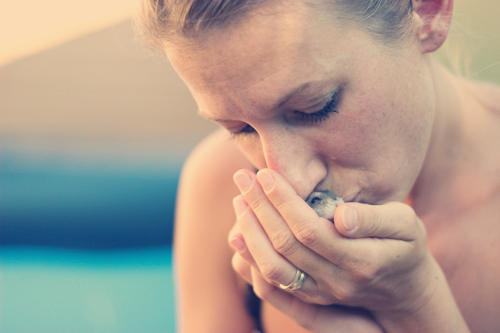
Here is a demonstration of a workflow using Photoshop and Cube.First of all, we grab a nice image:
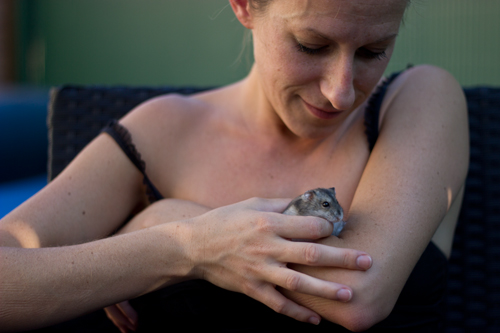
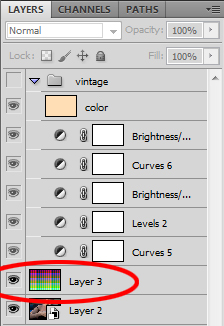
As long as the original image is a RAW photography and because we work in a 16-bits workspace, we can safely start to create some nice "vintage" effect without too much distortion, by adding some adjustment layers and coloring stuff in the stack:
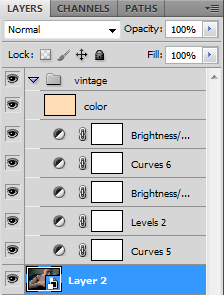
Until we're satisfied with the result:
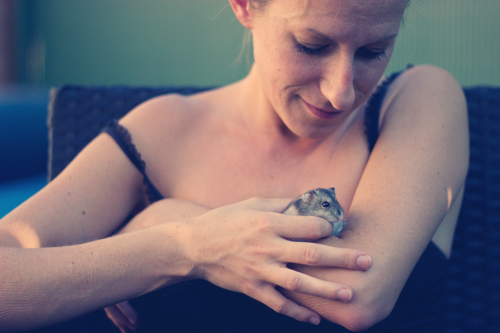
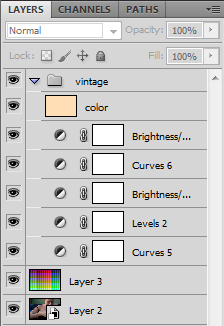
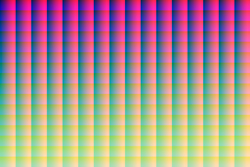
Then, we can work directly we these two images, but we prefer using an "all colors" image to be sure we won't miss any components in the process:
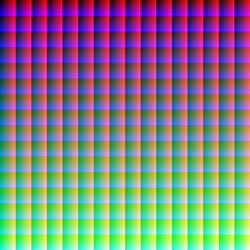
Just put this image over the backgound layer in the stack, disable all the effects and save the collapsed result as a 8-bits RGB jpeg named "src.jpg":
Then do the same with the whole process stack activated and save the collapsed result as a 8-bits RGB jpeg named "dst.jpg":
Visually, it may something look like this:
Switch to the command line and generate a "gen.cube" 3D LUTs file by interpolating from "src.jpg" to "dst.jpg".
Now you can use the "gen.cube" file to process the original file, by using the "Cube -use" command line or directly under Photoshop CS6 with the Color Lookup adjustement:

This is the result of the 3D LUT application:

Of course, we can re-use the same cube file again and again, with other images:
And easily get the same "look":
Cube © 2013
the Cube tool was designed and owned by Arnaud Sintès
the Cube tool was designed and owned by Arnaud Sintès