| [home] | [using Stuka] | [scripting 1/2] | [scripting 2/2] | [download] |
using the main panel

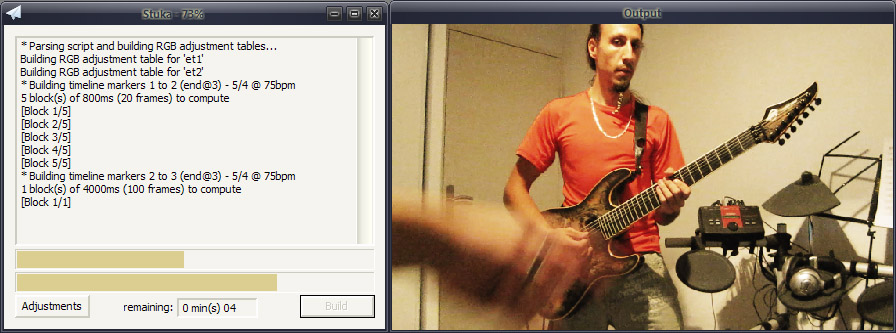
The main panel of Stuka shows a simple resizable output window with an access to the adjustments panel and a build button allowing the user to browse a script file and compute the output video if possible.
The output window shows build steps and errors while the bottom bars displays single and global operations progression.
An estimated remaining build time appears during the build and the output image pops on the right.
using the adjustments panel

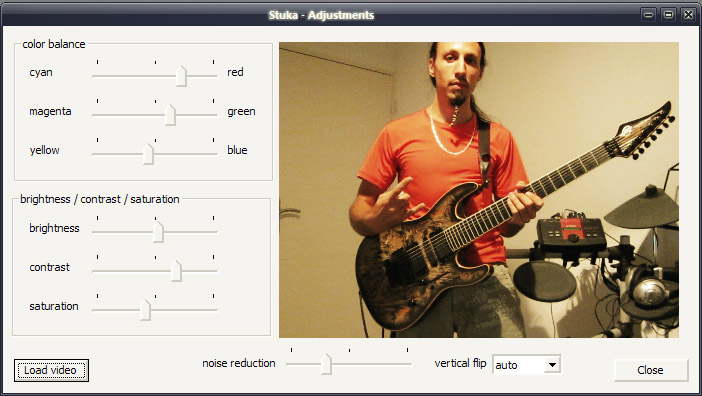
You can adjust video images in Stuka script, by adding some color balance, brightness, contrast, saturation or noise reduction, then force the image flipping.
As long as these settings may seem obscure, the adjustment panel comes to help a little by allowing you to open a video file and perform real-time adjustments to the video.
When you modify a parameter, Stuka stores immediately a full "input() {}" statement into the clipboard, with all the adjustments set to the right values, so you just have to paste the block into your script file.
Reciprocally, you can copy a script block of adjustements and paste (ctrl-v) it into the adjustement panel, to apply settings to an input video.
dealing with the output file

After using Stuka you may have an .avi file, or a lot of .xx.avi files (Stuka splits video in segments if a single segment size is greater than 1GB).
The best way to use your video is to join and encode your output video file.
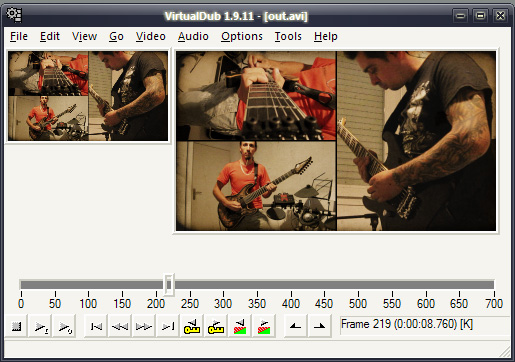
I personally use Virtual Dub right with Lame MP3 and X264 codec:


